


 Français
 Deutsch
 Español
 Italiano
News
Workbench 3.2.2 Clean Install
Mar
A few days ago Hyperion released the now 2nd update of Amiga OS 3.2 (here). Time to describe once how to make a fresh installation on a CF card with WinUAE.
I won’t go into the hardware because there’s really nothing to do. However, you need a Compact Flash card with a capacity of 4 GB, a CF-IDE adapter (see store) and of course a Compact Flash reader for your computer. This guide also assumes that you are using Windows, although it should be possible to perform pretty much the same procedure with FS-UAE on Linux or Mac.
Step 1 – Download tools
First of all, you need to download a set of software.
WinUAE – Amiga emulator
This tutorial uses the WinUAE Amiga emulator which can be found at https://www.winuae.net. We have used the version 4.10.1.
Kickstart/Workbench
You need a copy of the Kickstart ROM and the Amiga OS 3.2 CD (available here in the Store). To do so, please download Update 1 (Amiga OS 3.2.1) and Update 2 (Amiga OS 3.2.2) from Hyperion. As a Retrobuddy customer you have received a direct link from us. Please unzip the update 2 to use the latest Kickstart ROM Kickstart 3.2.2 47.111.
PFS3 file system support
We recommend using the PFS3 file system and you need to download the handler for it from http://aminet.net/package/disk/misc/pfs3aio. This is not strictly necessary, but it is faster than the standard AFFS and supports larger partitions.
Win32 Disk Imager
You should use Win32DiskImager to make regular copies of CF card images or download different ones from our website as a Retrobuddys.com customer. You can find the disk imager here: https://win32diskimager.org/
Step 2 – Prepare CF card
To use the Compact Flash card in an Amiga, you must remove all previous file system information from it. To do this, start diskpart as admin in the command prompt.
First list your hard disks by typing “list disk”. This should give you a result something like this:
Next select your compact flash card, in my case it is disk 2: “select disk 2”.
Be very, very sure that you choose the right plate. You will destroy everything on it otherwise.
If you want to be absolutely sure that you have selected the correct disk, you can run the Detail Disk function to check. When you are 100% sure, run “Clean”. This deletes the file system information from the disk and makes it ready for use in the Amiga. Exit diskpart.
Adding the Compact Flash card
The next step is to add the compact flash card. For this reason, you must run WinUAE as administrator, otherwise it will not work.
Click on the “Add Hard Drive” button.
Select the Compact Flash card as the hard disk (it may be called something completely different on your computer)
Switch from UEA to IDE (Auto)
Make sure that Read/Write is enabled.
Click on the “Add hard drive” button.
Step 3 – Configure the virtual Amiga in WinUAE
Start WinUAE as administrator. This is very important (right click on the icon “Run as administrator”) => Now we need to configure the system. Please try to rebuild your “real” Amiga 1:1.
Start the virtual machine!
Step 4 – Partitioning the Compact Flash card
Now we need to partition and format the Compact Flash card for use in an Amiga.
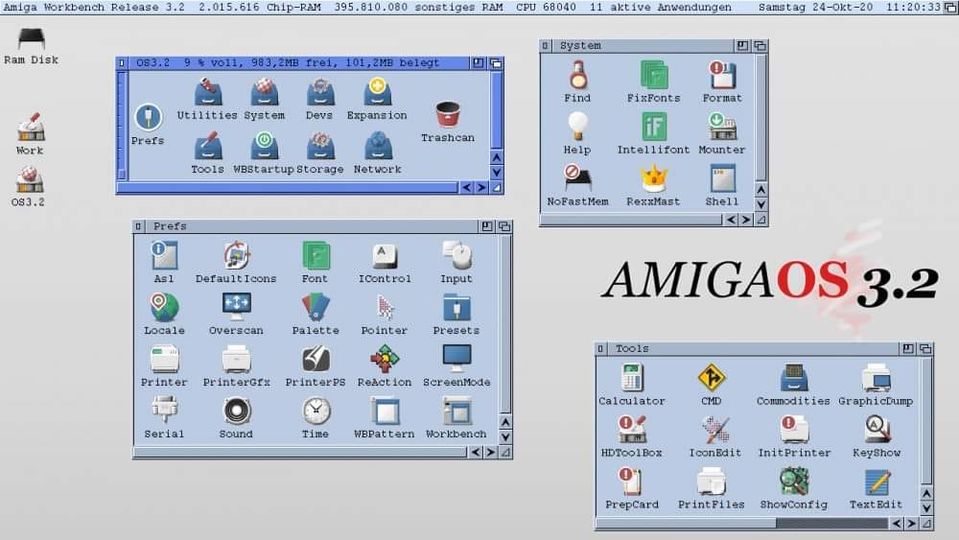
This is how it should look when you start your virtual Amiga
Open the installation disk and the HDTools drawer.
Start HDToolbox, you should see Interface SCSI, Address 0, LUN 0, Status Unknown
This is how HDToolbox should look like when you start it with CF card installed
Click on “Change drive type” -> “Define new” -> “Read configuration” -> “Continue” to configure the CF drive (ignore the read values, the Amiga does not really understand 4 GB drive)
Click OK and go back to the list of disks in the system.
Click on “Partition Drive”.
Set up a small(er) system partition, about 250 MB. Change the name to DH0.
Set up the rest of the CF card as a partition and name it DH1.
Example of CF card partitioning
Optional: Use the file system pfs3
Activate the advanced options and then click “Add/Update”.
Click Add New File System
Enter the filename f:pfs3aio (NOT pfs3_aio-handler as claimed in the video, this is no longer correct) and click OK
Change DosType to 0x50465303 and do not forget to press Enter in the field
Click OK and OK to return to your partitions
Select DH0 and click “Change” to switch to the new file system
Select “Custom File System” or “PFS/03” (depending on your Workbench version, I think)
Make sure that identifier is 0x50465303 (otherwise change it)
Change MaxTransfer to 0x1fe00 (and press Enter)